What You'll Find in This Post
Quick Facts About Madeira's PR1
- Route: Pico do Areeiro to Pico Ruivo (via PR1) to Achada do Teixeira (via PR1.2), on Madeira Island, Portugal
- Transport: Drive, book a €30-45/person transfer (one-way from parking lot to opposite trailhead, or round-trip from Funchal/Caniço), or €50-70/person guided tour
- Hike Stats: 9.3 km one-way (~5.8 miles), ~4-5 hours
- Peaks: Pico do Areeiro - third highest mountain peak on Madeira (1817m/5,961 ft); Pico Ruivo - #1 highest mountain peak on Madeira (1862m/6,109 ft)
- Best Time: Sunrise, spring/fall (avoid summer heat and winter fog)
Pro Tip: Wear lots of layers—especially for sunrise—and bring a flashlight for tunnels!
Disclaimer: This post contains affiliate links. If you book or buy through these links, I may earn a small commission at no extra cost to you. Thank you for supporting my blog!
**IMPORTANT 2026 UPDATE**: As of 2026, all official classified walking routes now require a mandatory reservation through the SIMplifica portal (select a 30-minute entry time slot) and charge a fee for non-residents over 12—for PR1, it's €10.50/person.
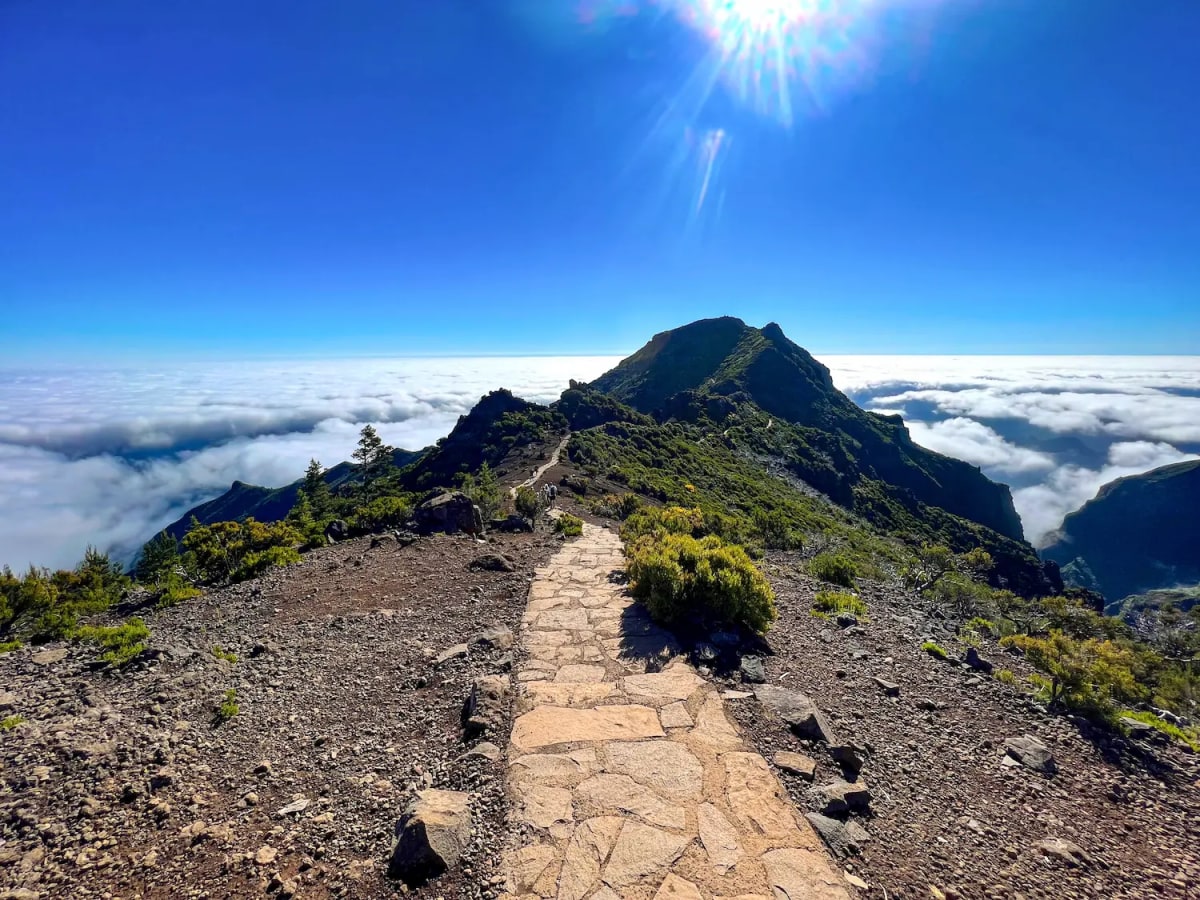
Intro to PR1/PR1.2 | The Hike Above the Clouds
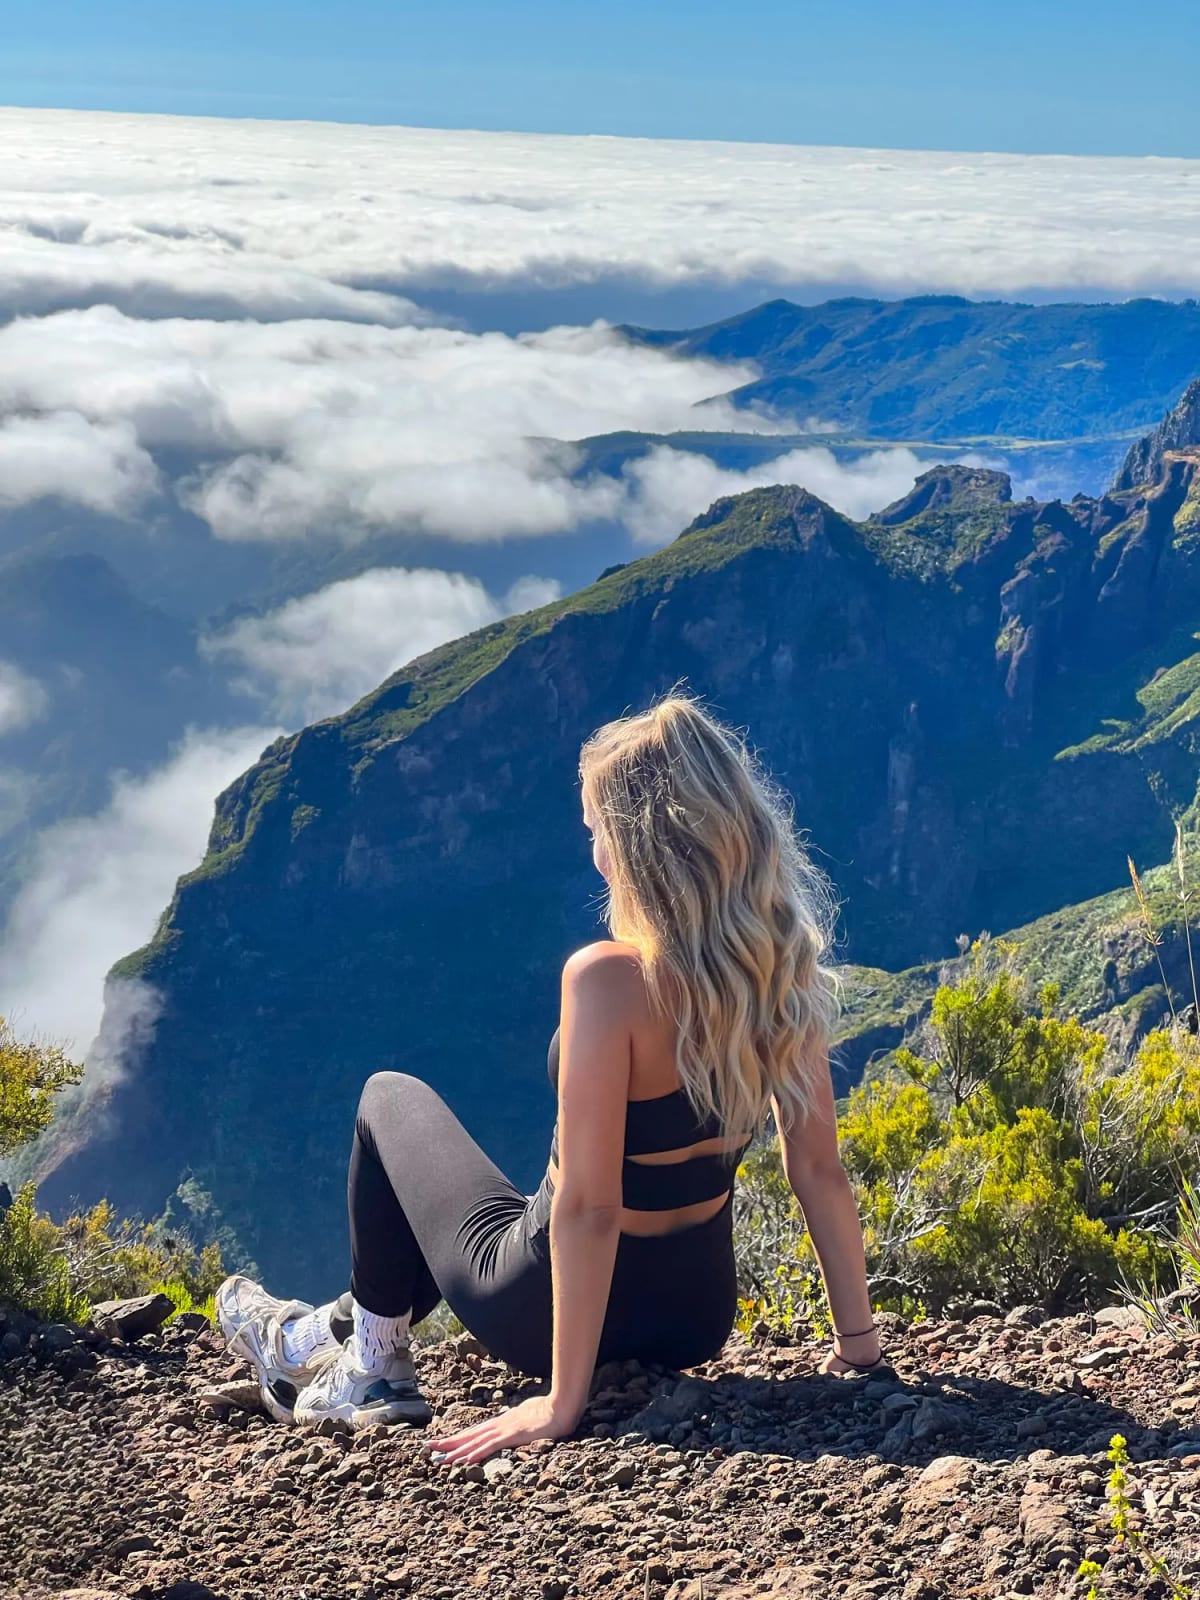
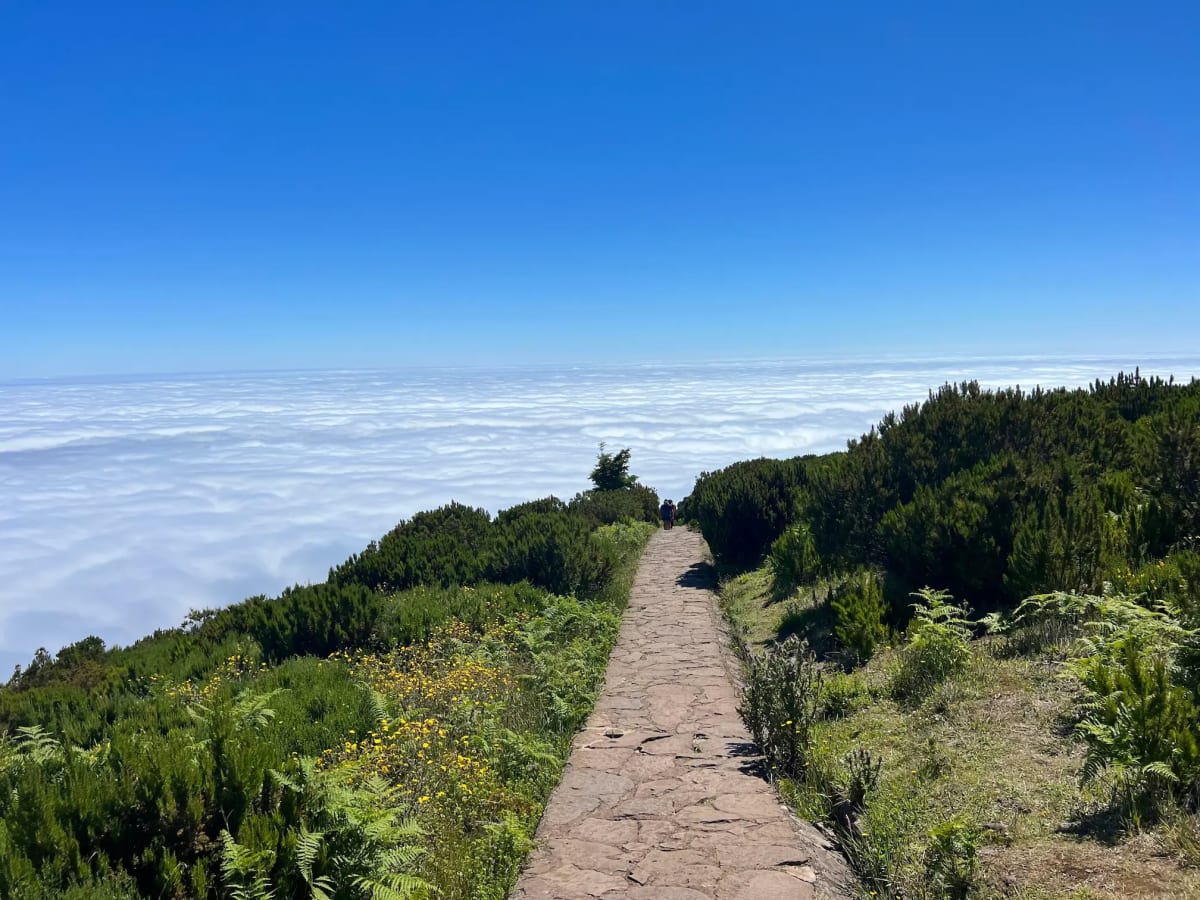
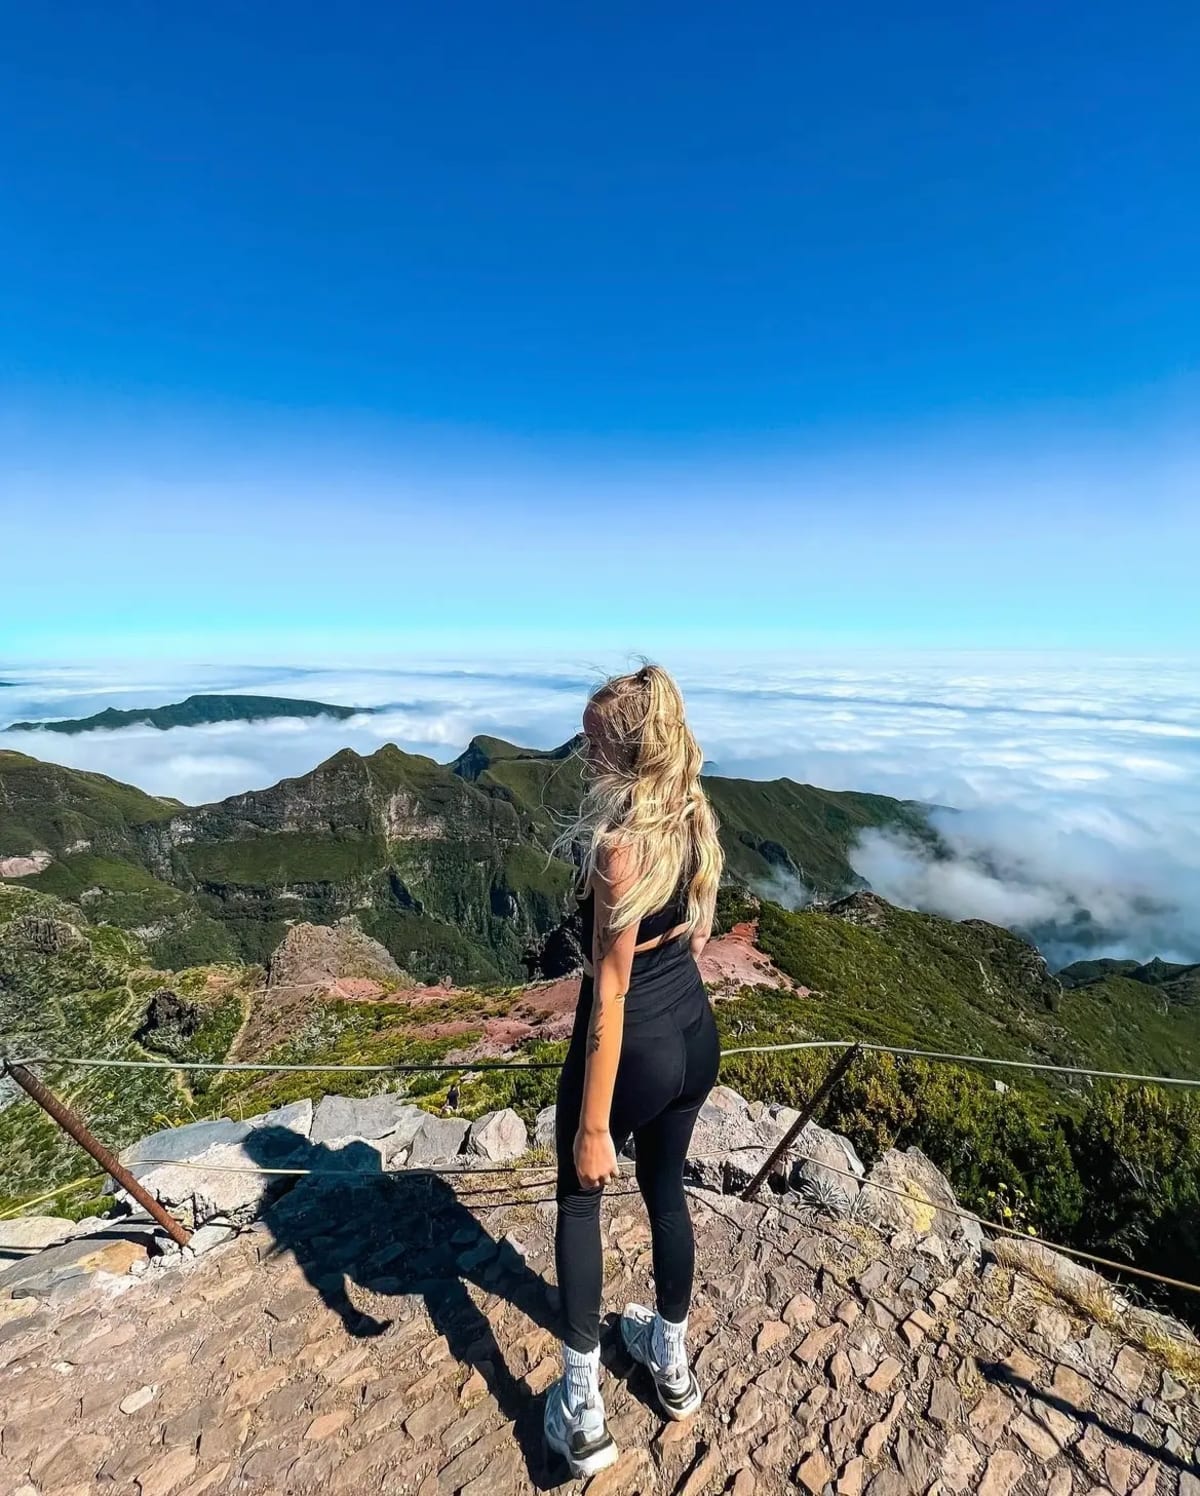
Madeira Island, popularly referred to as 'The Hawaii of Europe', has some of the best trails I've ever had the pleasure of visiting. The vast diversity on this island, located in the middle of the Atlantic, allows for a beautiful mix of high peaks, mystic forests, stunning waterfalls, and arid landscapes with coastal views. Known for its incredible sunrises and the famous 'Stairway to Heaven' path, the trail from Pico do Areeiro to Pico Ruivo is rated as the number one hike on Madeira Island. This is my complete guide for the PR1/PR1.2 trek with everything you need to know before you go!
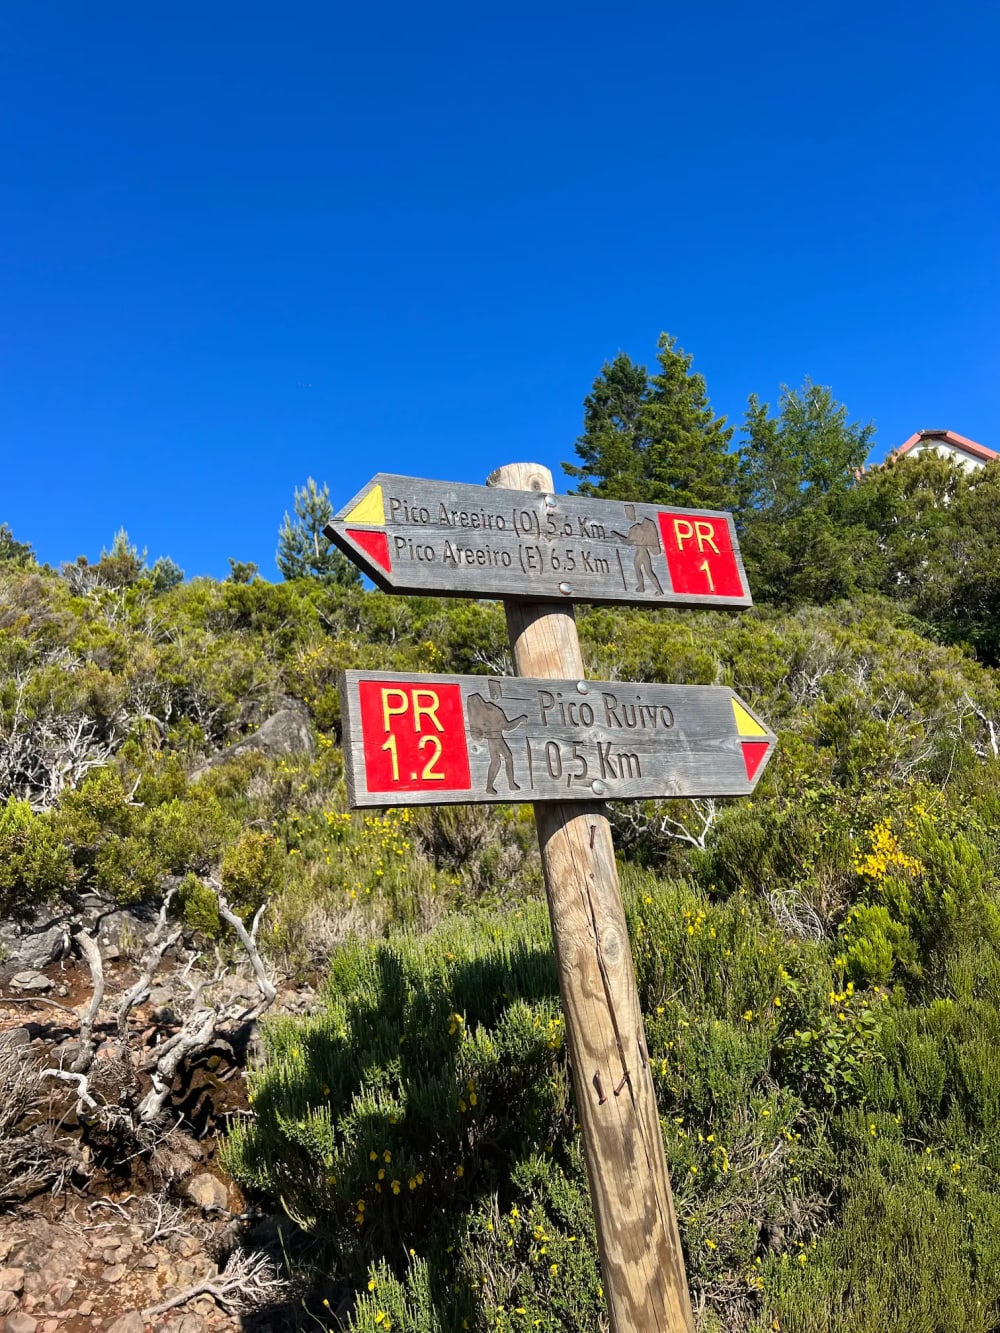
To break it down: PR1 (Vereda do Areeiro) runs from Pico do Areeiro (parking lot #1 and prime sunrise spot) to the shelter near Pico Ruivo (Casa de Abrigo). From there, a short hike uphill takes you to the summit of Pico Ruivo. Then, PR1.2 (Vereda do Pico Ruivo) continues from Pico Ruivo to Achada do Teixeira (parking lot #2), making it a popular one-way trail.
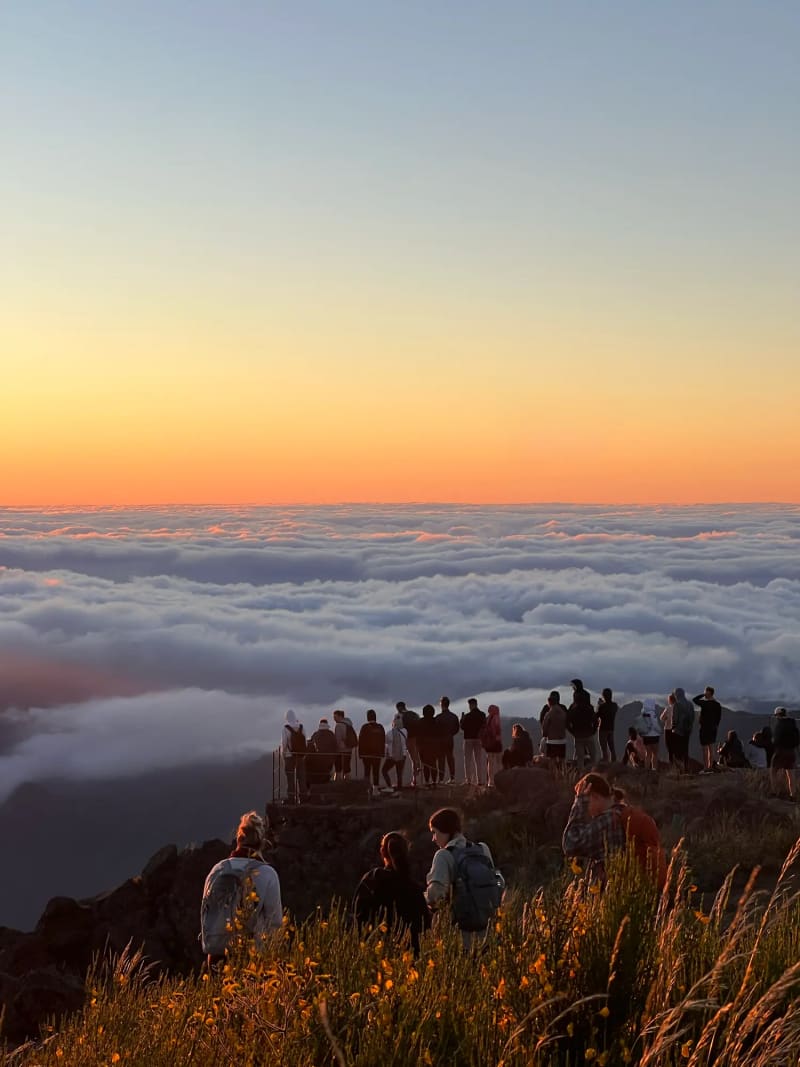
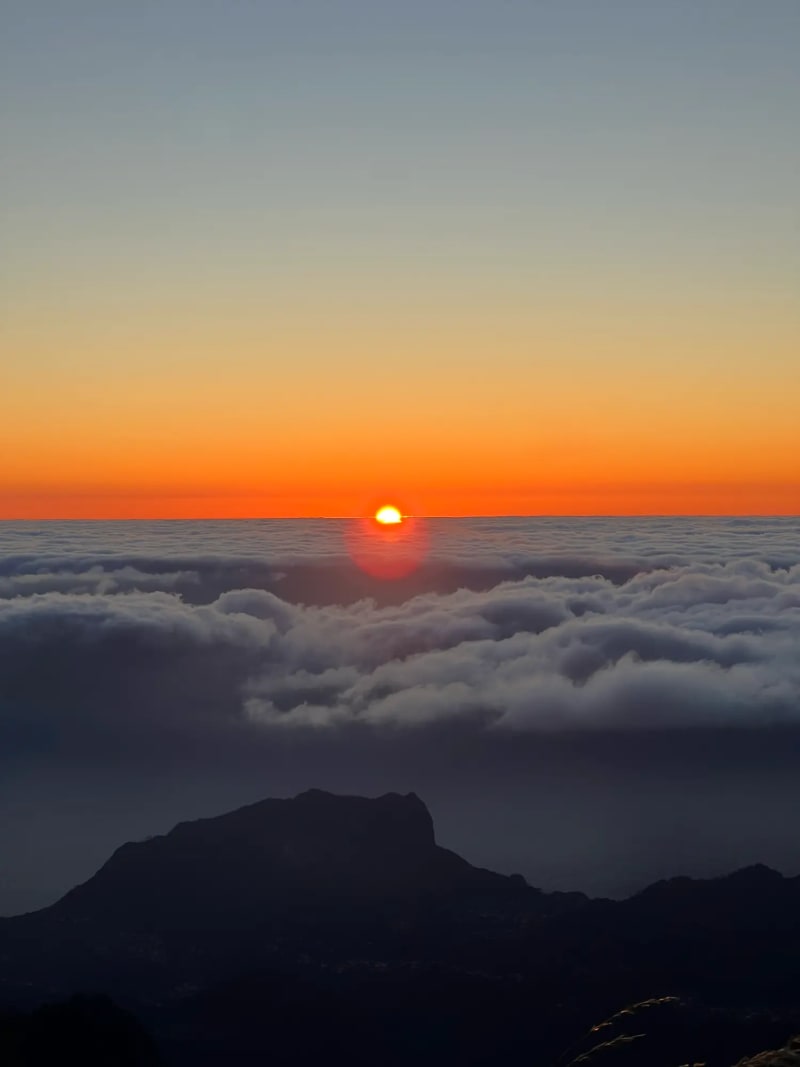
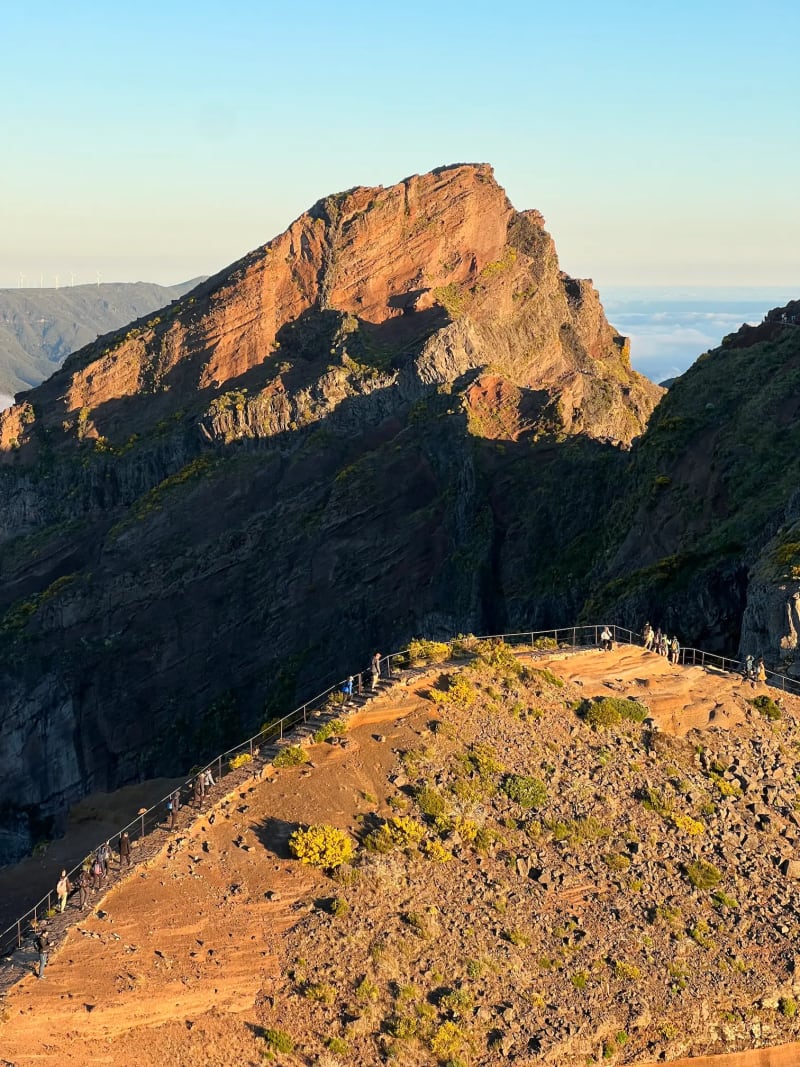
A unique aspect of PR1 is that it's typically known as a sunrise hike. Watching the sun rise over the clouds was the most amazing experience—I had never seen anything like it! We arrived at Pico do Areeiro at 6:20 AM, and the sun began to crest over the clouds by 6:55 AM.
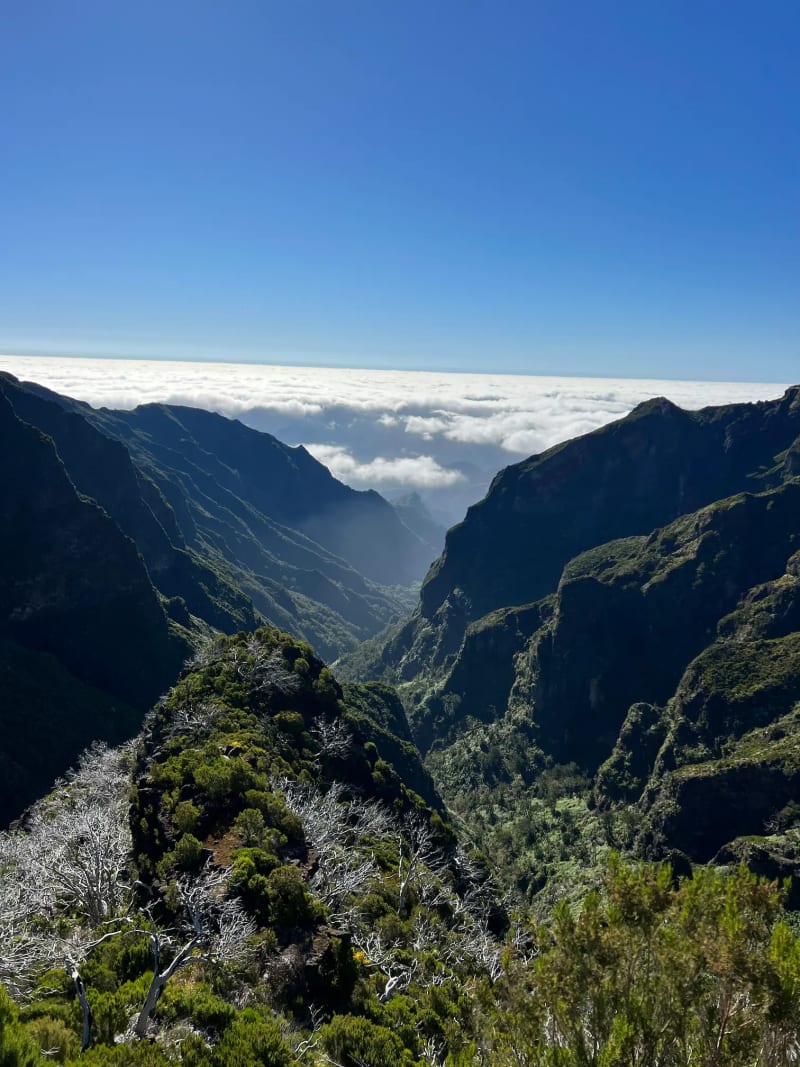
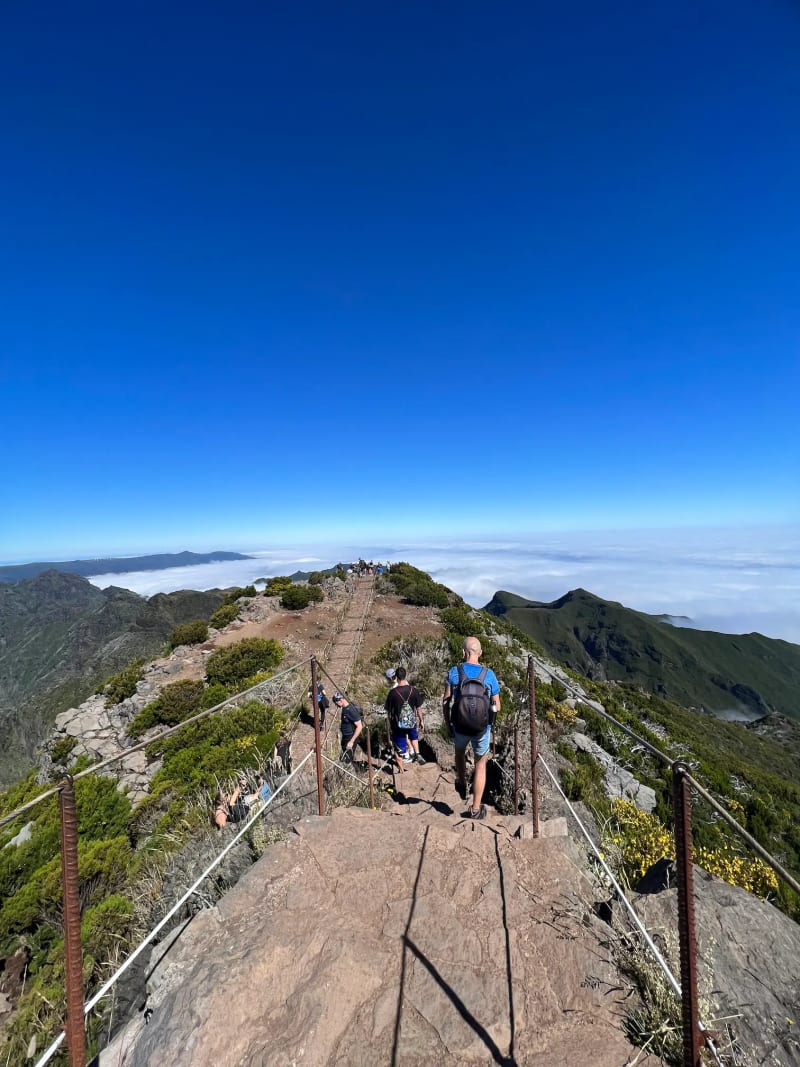
This path winds up, down, and through the mountains with endless gorgeous views. You typically start at Pico do Areeiro (the third highest mountain peak on Madeira at 1817m/5,961 ft) and head to Pico Ruivo (the highest mountain peak on Madeira at 1862m/6,109 ft). It leads you into some pitch-black mountain tunnels that you need to duck down and use a flashlight to get through!
This hike is so popular that, particularly at sunrise, it gets pretty crowded. At times you can feel like you're walking in the great migration (haha!). However, it does thin out as everyone goes at their own pace and stops for pictures or lunch, so it's not like that the whole time. In the end, it still became my favorite hike on the island.
Also, I'd like to mention that the famous 'Stairway to Heaven' path—a lot of you have likely seen it on social media—is only about 15 minutes into the hike from Pico do Areeiro, along the initial ridge of PR1. If you'd like, it's possible to hike out to it and back. Of course, you absolutely should do the whole trail because it's insanely beautiful and worth every step. However, if you're not able to or aren't into hiking, you can just see the most 'instagrammable' section (again, to me, the whole thing is 'instagrammable', but to each their own!). If you're super concerned about photos, another option would be to complete the hike one day and return at a less crowded time (either mid-sunrise when everyone's watching the view or around sunset) for people-free shots.

How to get to the PR1 Trailhead(s)
There are two main trailheads, and you can technically start from either one: Pico do Areeiro or Achada do Teixeira (about a 30-45 minute downhill walk from Pico Ruivo summit). If you're aiming for sunrise, definitely begin at Pico do Areeiro for the best views. That's why the hike is almost always called 'Pico do Areeiro to Pico Ruivo' (with the extension to Achada do Teixeira) rather than the reverse.
The parking lot at Achada do Teixeira
No public transportation reaches either trailhead, no taxis are available without advance scheduling, and ride share services like Uber are unavailable here. While you can drive, it's not recommended because finding parking can be difficult and the hike is one-way: You hike from one end to the other (e.g. Pico do Areeiro to Pico Ruivo to Achada do Teixeira), taking ~4-5 hours. It's best to book a transfer or join a tour.
Transfers & Tours
To avoid any hassle, the easiest and most recommended options are to either book (1) a round-trip transfer (shared or private; drops you off at one trailhead and picks you up at the other) or (2) a guided tour. Keep in mind most of these services only offer pick-up from the east, like Funchal or Caniço, so if you're staying elsewhere be sure to confirm availability; if there is none, see the driving options below.
Trail from Pico Ruivo to Achada do Teixeira
We booked a sunrise transfer through GetYourGuide, and it was simple and reliable—they were on time, and the driver was kind and informative. Round-trip transfers typically cost €35-45/person, with departures around 5:30 AM for sunrise or 8:00 AM for mornings. For guided tours or options with extra inclusions (like breakfast or professional photos), expect €50-70/person. They picked us up from our apartment in Funchal, dropped us off at Pico do Areeiro, collected us 5 hours later at Achada do Teixeira, and drove us back home. The drive took ~45 minutes from Funchal to Pico do Areeiro.
Driving
If you want/need to drive, you have to either (1) hike all the way back to your starting point (where your car is parked), doubling the hiking time, or (2) park at Achada do Teixeira and book a one-way transfer in advance (available online here for ~€30) to Pico do Areeiro, then hike back to your car. Note that parking at both lots is free, but it fills up quickly so you'll likely have to park along the road downhill, then walk up to the trailhead. The roads are have sharp curves and can be foggy before dawn, so drive carefully!
Hike Duration and Distance
Total: 4-5 hours, 9.3 km (~5.8 mi). This allows plenty of time for photo stops, rests, and lunch.
- Pico do Areeiro to Pico Ruivo (PR1 + summit spur): 7 km (~4.3 mi) / 3.5 hours.
- Pico Ruivo to Achada do Teixeira (PR1.2 trail): 2.3 km (~1.4 mi) / 45 minutes (mostly downhill).
Difficulty Level
This hike is moderate to hard, depending on your fitness level and hiking experience. It involves about 300m (~984 ft) of elevation gain and loss, with steep ups and downs rather than flat terrain. The most strenuous parts, in my opinion, are (1) the metal stair section about halfway to Pico Ruivo, and (2) the uphill push from the café area to the Pico Ruivo summit.
What to Wear
Dress in layers you can easily add or remove, especially since weather can shift dramatically throughout the day. For example, start with a windbreaker jacket, sweater, and t-shirt underneath, plus long pants over shorts. Madeira's conditions can change in the blink of an eye, from hot and sunny to cloudy, rainy, and windy in minutes. It's best to come prepared for any type of weather, and never fully rely on weather apps here. Sturdy hiking shoes or boots with good grip are essential for the rocky, uneven paths.
As mentioned, we did a sunrise hike, and it was freezing at Pico do Areeiro upon arrival. My jacket, sweater, and long pants barely kept me warm—I was SO jealous of those with hats and gloves, but it was summer so I didn't know! However, within an hour of hiking, I'd shed everything and was sweating in just a t-shirt.

What to Bring
- A fully charged phone with a flashlight (essential for the tunnels) and a portable charger.
- Packed lunch and 1-2L of water.
- Sunscreen, a hat, and extra clothing layers.
Pro Tip: try not to drink too much water, just enough to stay hydrated, because of limited amenities (see below).
Amenities at PR1
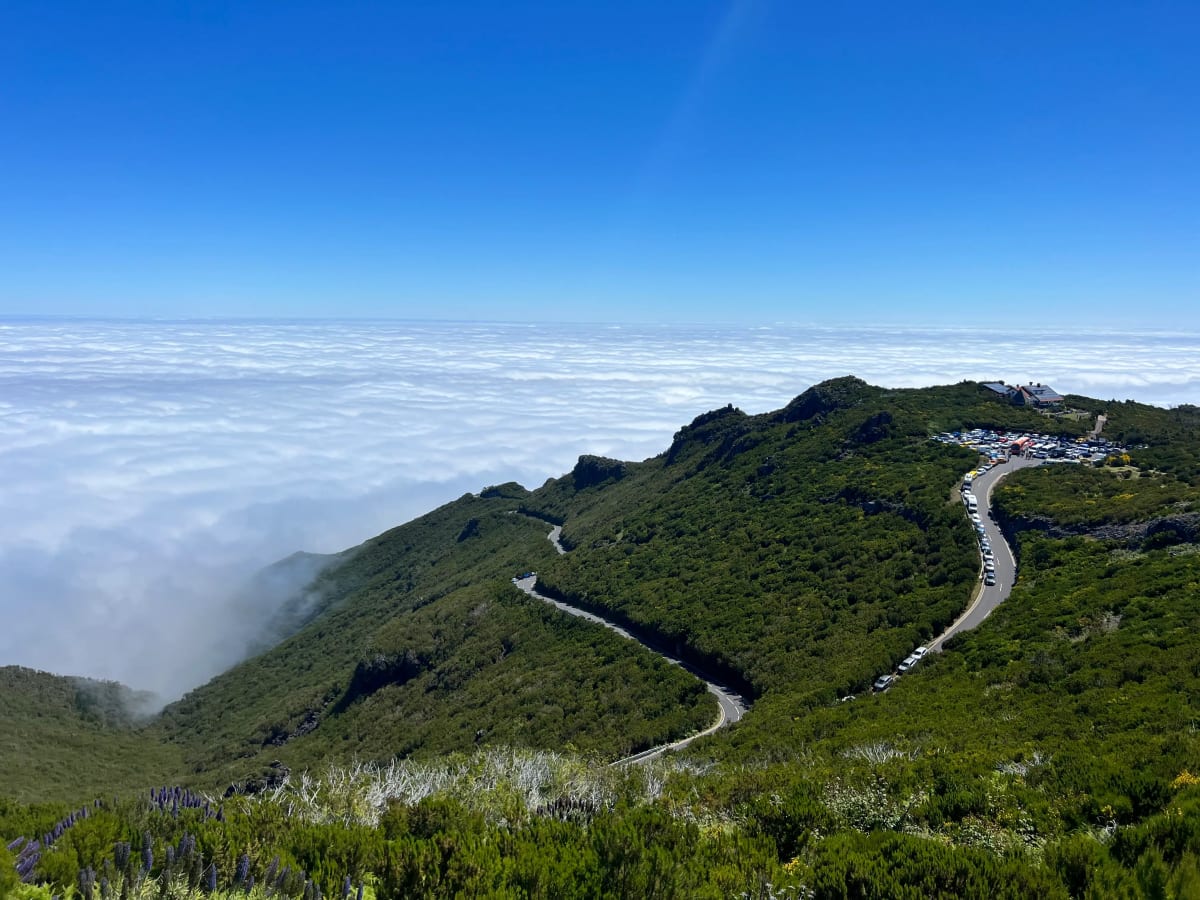
From Pico do Areeiro, there are no bathrooms until you reach the café at Casa de Abrigo near Pico Ruivo (~3-3.5 hours in), so be sure to use the bathroom at your accommodation before heading out. The café sells snacks and drinks, but I recommend packing your own to save money (the café is overpriced). Plus, enjoying a refuel break on the summit with stunning views is better than having it at the café below. There's another small café at the end of the PR1.2 in Achada do Teixeira. If you've booked a transfer, keep an eye on time if you stop to eat so you don't miss your ride!
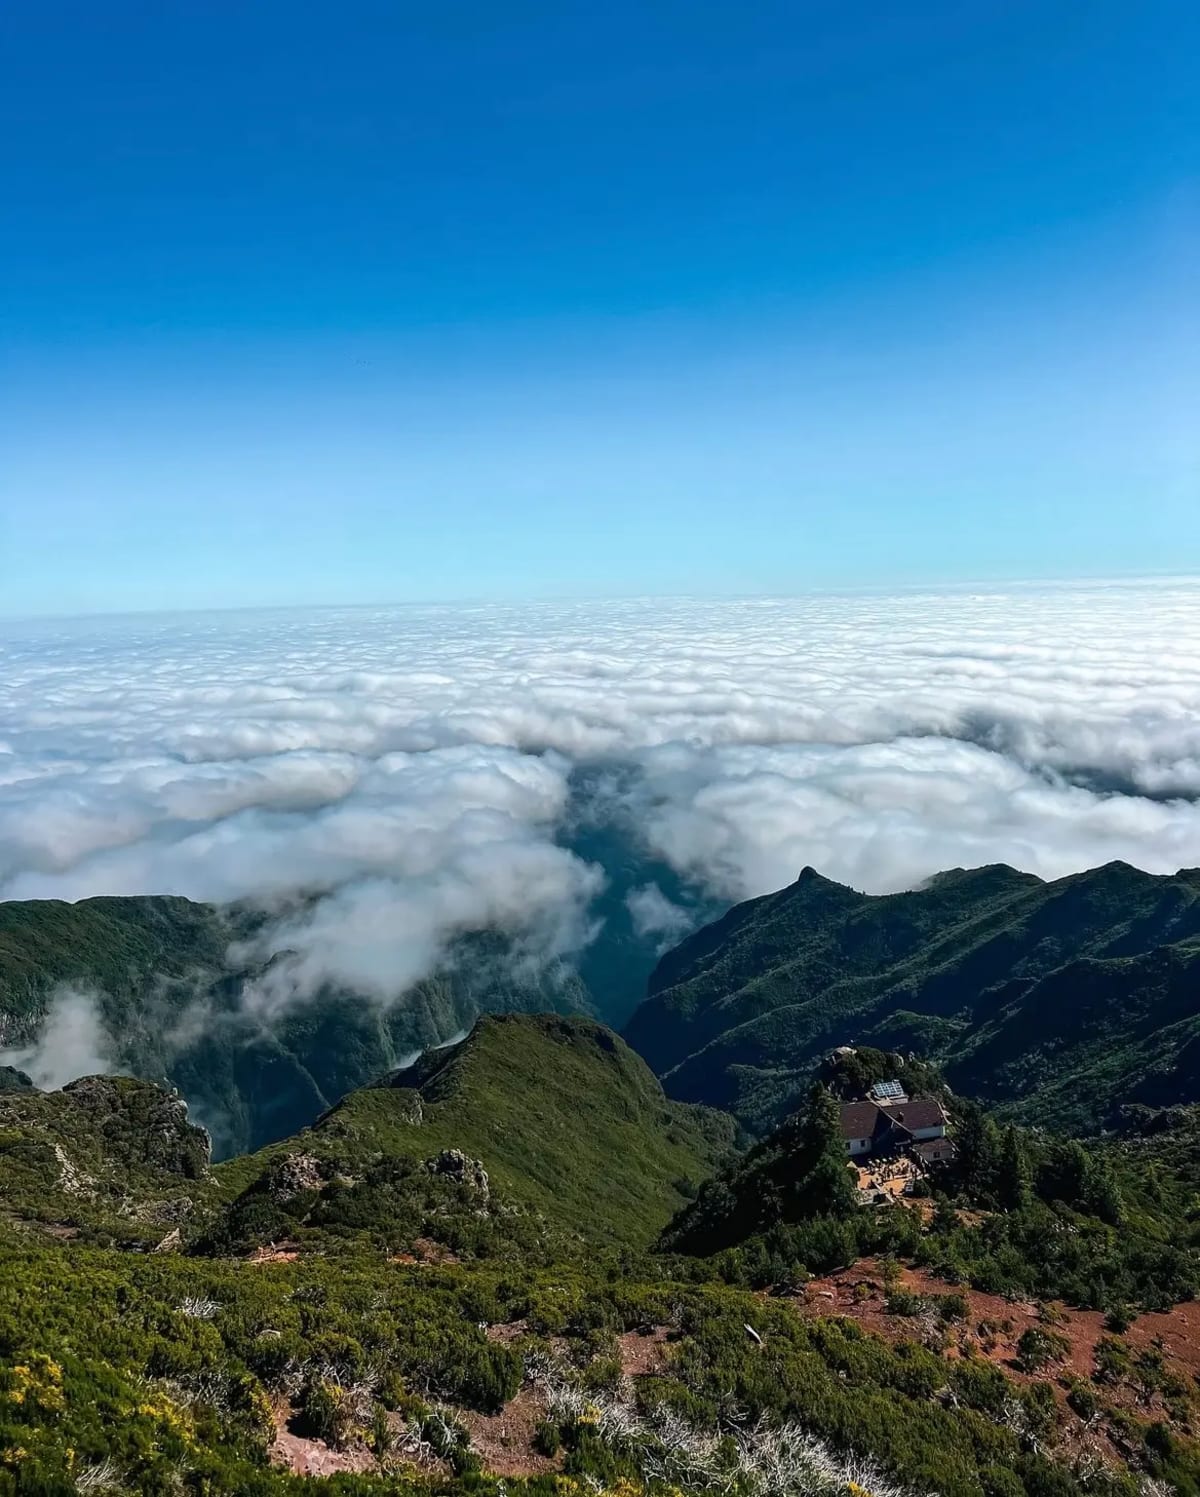
Views from the top of Pico Ruivo. You can see the café located in the bottom right of the photo above.
Environmental Awareness
To leave this guide on a note of self-awareness and environmental care: If you absolutely can't hold it and need to use the bathroom along the trail, bring toilet paper and a plastic bag. Please DO NOT litter the toilet paper (or any waste)—it is easy to pack it away and put it in your bag until you reach a trash can. If you're wondering why I would even have to mention this, there have been many reports of used toilet paper scattered in spots along the trail, and I saw some myself during my hike. Let's do better and follow Leave No Trace principles to keep this UNESCO-protected area pristine! ❤
Whether you're on Madeira about to conquer the heights of PR1/PR1.2, or are daydreaming about those cloud-kissed views from your couch, I hope this guide has ignited your wanderlust for the island's wild side.
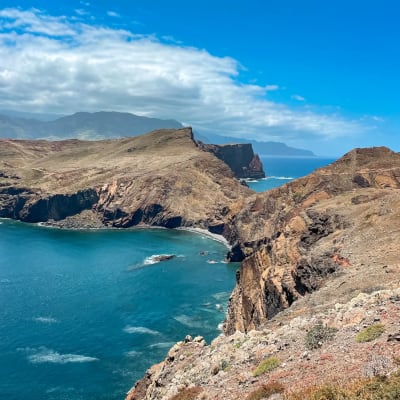
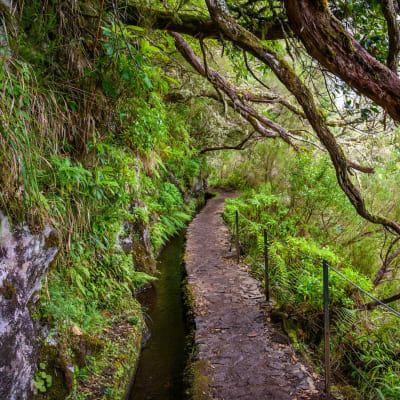
If this "Hike Above the Clouds" leaves you wanting more, you can check out my breakdowns of the dramatic coastal cliffs on PR8 Ponta de São Lourenço, the lush levada trails of PR9 Levada do Caldeirão Verde, or any of my Funchal guides—including a 3-day itinerary and all the summer festivals that you can't miss. For everything to know about Madeira, visit my comprehensive guide of the island's must-dos, from old villages to secret beaches.
What's your next trail? Tag me on IG @blondevelvet_travel to let me know!